Look, I’ll be straight with you — when I first opened CapCut back in mid-2024, I felt completely lost. The timeline looked like a spaceship control panel, I added way too many zoom effects (think seizure warning levels), and my first “travel vlog” was basically 45 seconds of shaky phone footage with mismatched music and captions that auto-generated “I’m walking in the park” as “I’m walking in the pork.” It was embarrassing. I almost gave up and went back to iMovie.
But I stuck with it because CapCut is free, doesn’t watermark unless you want fancy stuff, and once you get the muscle memory, it’s stupidly fast for short-form content like Reels, TikToks, or even quick YouTube community posts. Two years later (yeah, we’re in 2026 now), I edit almost everything in it — client clips, my own channel stuff, even little promo things for friends. Here’s the exact path I took to stop sucking at it. No fluff, just what actually worked for me.
Getting It Set Up (and Avoiding My Earliest Rage-Quit)
Download it from the App Store or Google Play if you’re on mobile, or grab the desktop version from capcut.com if you hate tiny screens like I do. (Pro tip: desktop version feels way more like “real” editing software — bigger preview, easier precise cuts.)
Hit the + button for a new project, pick your clips from camera roll or files, add them, and you’re staring at the timeline. First thing I always do now: go into Settings > Draft > empty the cache. Early on, my app would freeze or “nothing clicks” because drafts piled up. Clearing it every few projects keeps things snappy. I wish someone told me that on day one.
Step 1: Ruthlessly Cut the Junk (This Changed Everything)
Select a clip in the timeline. Drag the white end handles to trim boring intros/outros. For mid-clip mistakes, slide the playhead, hit Split (scissors icon), then tap the bad part and delete.
My biggest breakthrough: I used to keep every single pause because “it felt natural.” Nope. In one early video — a 30-second recipe clip — I left in 8 seconds of me fumbling with a knife. After trimming it tight, the same footage went from “meh” to something people actually watched to the end. Cut aggressively. Your viewer has the attention span of a goldfish.
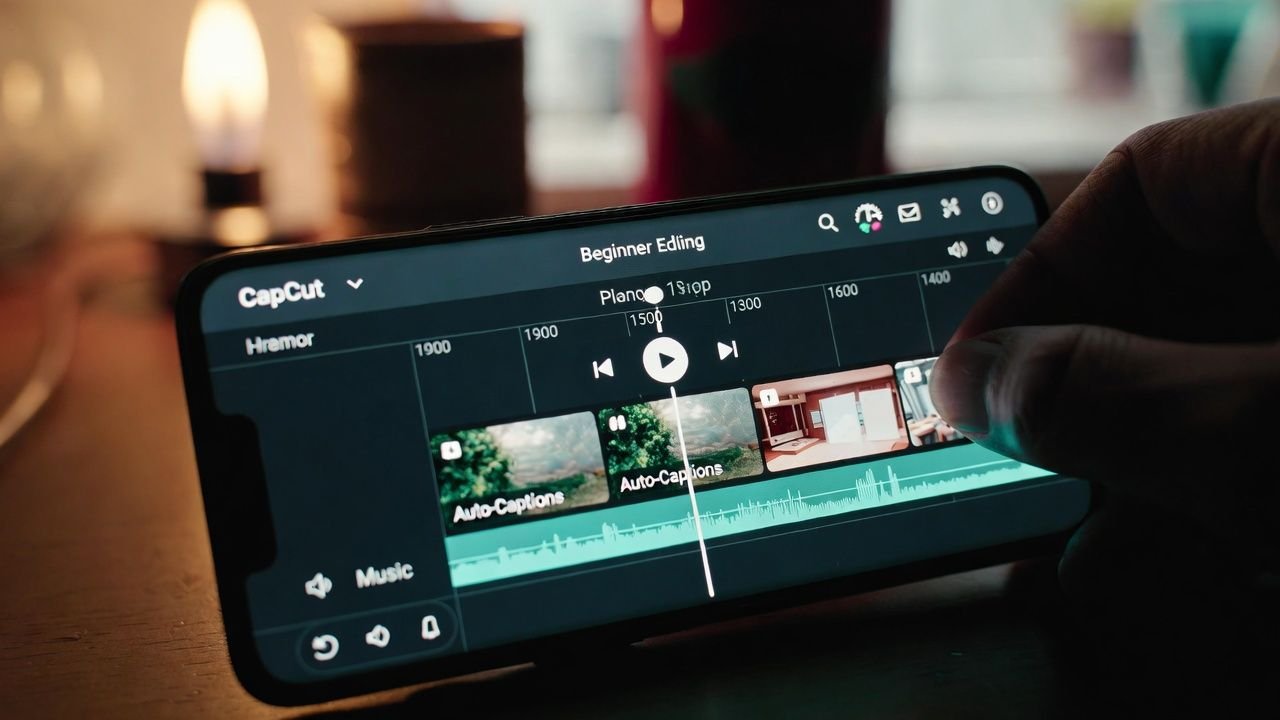
Step 2: Text & Captions (Because Nobody Watches Muted)
Tap Text > Add text. Type your hook or key point. Change font (I love “Classic” or “Neon” for fun vibes), color, size. Add animation if it fits — but I limit to one style per video now after my “everything bouncing” phase looked like a bad 2010s PowerPoint.
Auto Captions are a lifesaver for talking-head stuff. Go to Audio > Auto Captions > Generate. It usually nails it, but if you talk fast or have an accent (like my slight Midwest drawl), it mishears words constantly. I always play it back with sound off and fix typos — one time it turned “subscribe” into “sub scribe” and I looked illiterate.
Step 3: Audio — Don’t Let Music Bury Your Voice
Tap Audio > Sounds. Search the library (tons of royalty-free tracks) or import your own. Drag to align beats with cuts if you’re feeling fancy.
Biggest mistake I made forever: music too loud. I now pull background volume down to around -15 dB to -22 dB (check the mixer panel). Voice stays clear, music supports instead of fights. Add a gentle fade-in/out on the track ends — avoids that harsh start/stop.
Step 4: Transitions (Keep It Classy, Not Circus)
Between clips, tap the white diamond icon. Pick something subtle — Crossfade, Fade, or Dissolve. I use the same one (usually a soft crossfade) for 90% of my videos now. Early on I cycled through every glitchy zoom and spin; it looked chaotic. Simple = pro.
Step 5: Colors & Filters (Subtle Wins)
Select clip > Adjust. Bump brightness +8–12 if it’s dim, contrast +10, saturation +5–10 for pop without looking fake. Filters? I stick to “Cinematic” or “Vivid” at low strength. Heavy vintage or teal-orange made my travel clips look like everyone else’s over-filtered Instagram.
Step 6: Effects & Extras (Use Like Hot Sauce)
Motion blur, glows, shakes — they’re there under Effects. I add a tiny keyframe zoom on product shots or text tracking to follow my face, but only when it serves the story. Overdoing effects was my rookie hallmark; now I ask: “Does this help the viewer understand?” If not, delete.
Step 7: Export Without Drama
Hit Export (top right). 1080p at 30fps is my go-to — crisp enough for social, file size stays sane. If it hangs during render, it’s usually cache again — clear it and retry.
Before posting, I always watch the full thing on my phone with earbuds. Typos, off-sync audio, weird jumps — they scream at you that way.
Stuff I Wish I’d Known Sooner (From My Actual Screw-Ups)
Start stupid short: My first decent video was 12 seconds. Easier to finish, less overwhelming.
One software only: I bounced between VN, InShot, and Premiere Rush before committing to CapCut. Picking one let me actually improve instead of relearning interfaces.
Cache is the silent killer: Empty it weekly. Prevents 90% of “app won’t respond” moments.
Copy good creators shamelessly at first: Pause a video I like, see exactly when they cut, when text appears. I stole pacing ideas from three travel accounts and my retention jumped.
Storytelling over sparkle: Fancy effects don’t save a boring script. Focus on “why should someone watch this?”
Editing used to feel like homework. Now it’s the fun part — turning raw, messy phone clips into something people actually enjoy. My early stuff still makes me cringe, but comparing it to what I post now? Night and day.
Grab your phone, film something dumb today (your breakfast, a walk, whatever), throw it into CapCut, and follow these steps. Mess up, laugh, fix it. That’s how I got here.
If you’re stuck on something specific (like beat-syncing music or fixing shaky footage), comment below — I’ve probably done the exact same dumb thing and can tell you what finally worked for me.